Module 2: Preparing Microscope Slides
These free OCR A Level Biology Preparing Microscope Slides revision notes have been written for specification points 2.1.1(b) and 2.1.1(c).
Preparing Microscope Slides
The table below outlines the key steps for the 3 main types of slide samples:
| Sample Type | Key Steps |
|---|---|
| Bacterial smear | Air dry → heat fix → Gram stain → rinse → blot dry → apply cover slip |
| Thin section or smear | Place on slide → add stain → cover slip at angle → blot excess |
| Living organism | Water drop → add specimen → lower cover slip at angle → avoid bubbles |
Staining
Staining enhances contrast, making cell structures easier to identify.
The table below outlines examples of stains you may encounter:
| Stain | Function |
|---|---|
| Methylene blue | General-purpose stain for making specimens more visible. |
| Acetic orcein | Binds to DNA and stains chromosomes dark red. |
| Eosin | Stains cytoplasm. |
| Sudan red | Stains lipids. |
| Iodine |
Stains cellulose in plant cell walls yellow and starch granules blue/black (appearing violet under the microscope). |
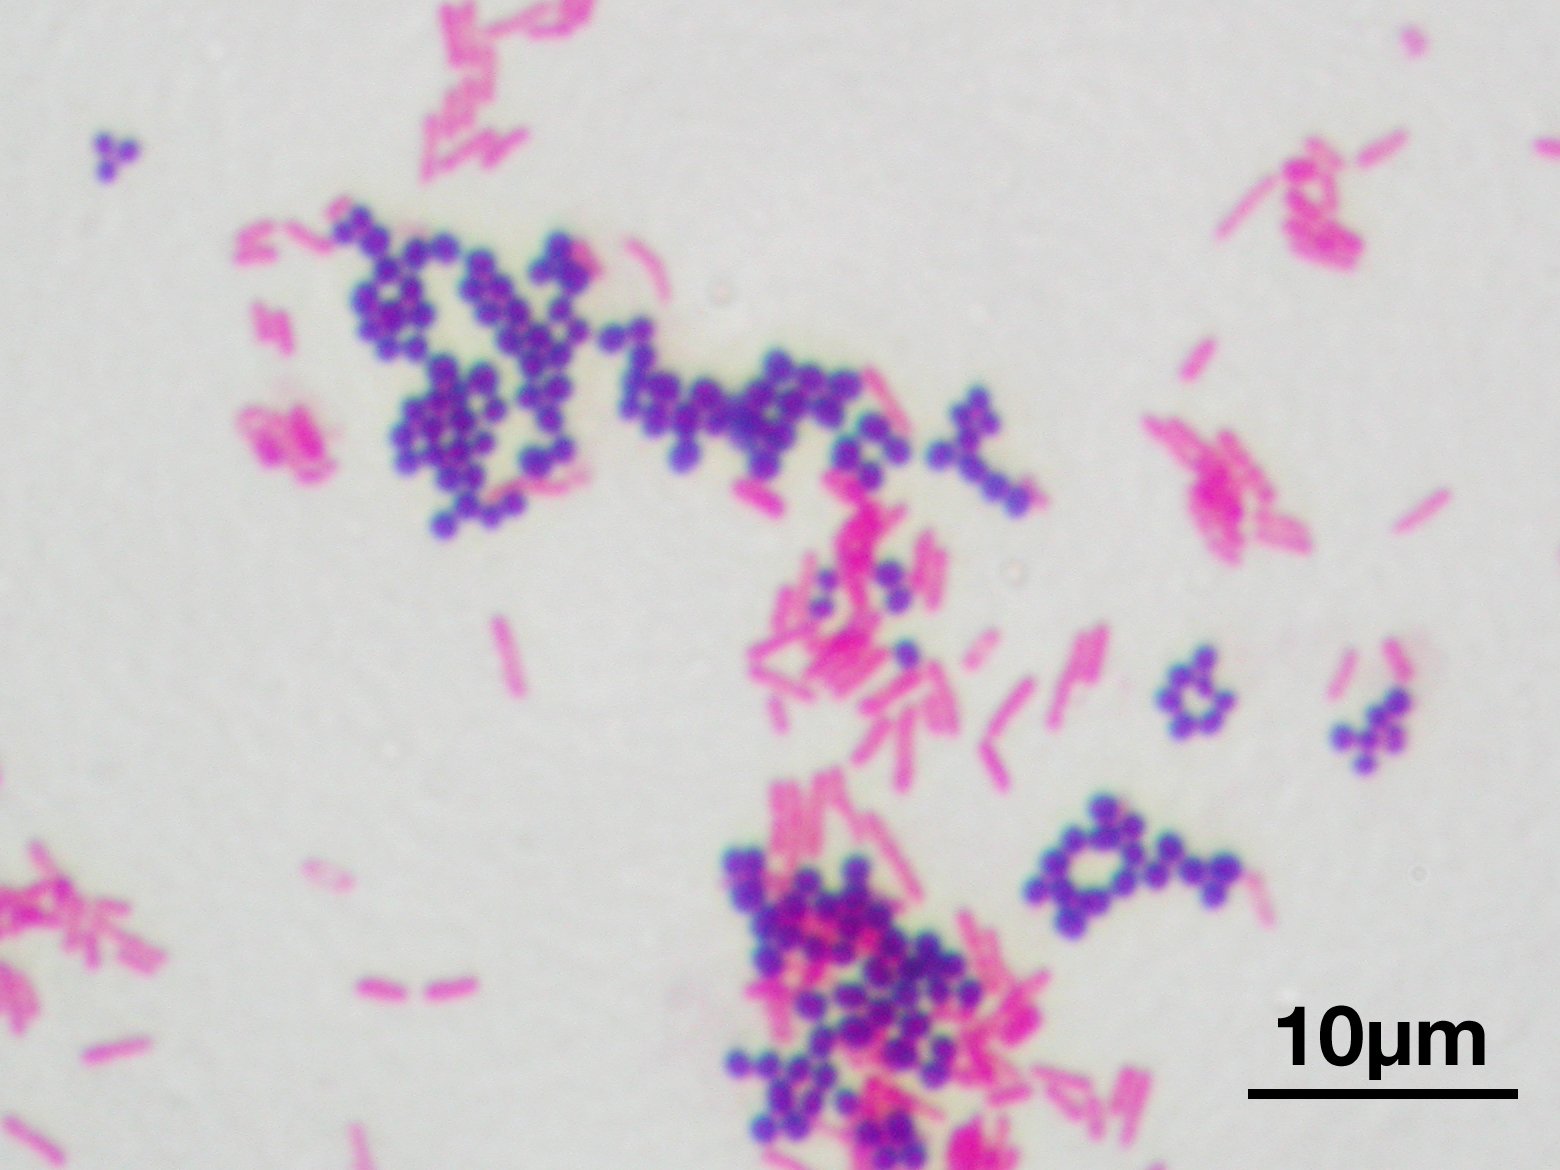
Bacteria: Gram Staining
Gram staining is a differential staining technique; it distinguishes between Gram-positive and Gram-negative bacteria based on differences in their cell wall structure.
Tissues: Samples and Smears
Preparing Smears and Thin Sections
- Place the sample directly onto a clean slide.
- If needed, stain the edge of the sample before applying the cover slip.
- Lower the cover slip at an angle to prevent air bubbles.
- Blot away excess stain if required.
Preparing a Microscope Slide for Living Organisms
Preparing Living Samples (e.g. Amoeba)
- Add a drop of water to the slide.
- Add the living organism gently.
- If appropriate (for small prokaryotic organisms), place the cover slip on carefully and gently to avoid damaging the specimen and prevent air bubbles.